


How to Restore the Cowl on a Classic Mustang
By Dennis Bandy Copyright �
My first car back in 1981 was a 1967 Ford Mustang Coupe with a 289, automatic, factory AC and power disc brakes. I have always had a soft spot since then for vintage Mustangs. To make a long story short, the years went by, I became an automotive technician, got married and had a son. It seemed inevitable that I would someday find another Mustang, so I started looking for one to restore.
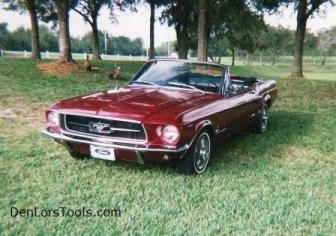
I found the '67 Mustang in this picture that also had a 289, automatic and power disc brakes like my first car and as an added bonus this one was a convertible. This car was never titled outside the state of Florida and it was located a half hour away from my house in Riverview. I was excited and couldn't wait for the project to begin.
Most classic Mustangs suffered from water leaks from the cowl area. The cowl is located in front of the windshield and has vented openings for outside air to enter the passenger compartment. The problem started at the factory, the bare metal on the inside of the cowl was never really painted, except for a little over-spray through the vents. On the inside of the cowl there are top hat shaped openings that are designed to allow air to enter and the water to drain around them, the water runs off to each side and drains behind the fenders.
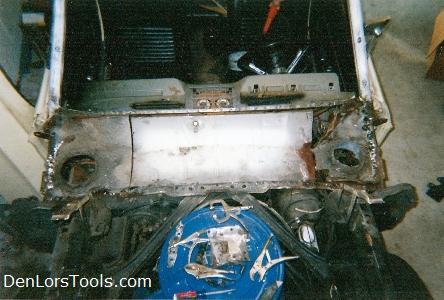
Since the metal was not galvanized or painted well, it was only a matter of time until the areas around the top hats deteriorated and allowed water to leak under the dash on both sides. The cowl is a part of the uni-body, so just replacing the assembly was not an option. To repair the rusted sheet metal, the top portion of the cowl had to be removed. There were approximately 200 spot welds that needed to be drilled out around all the edges and some there was some brazing on each end that had to be separated to allow the top of the cowl to be removed.
But first to access all of the spot welds, the fenders and windshield had to be removed. The right side fender was being replaced anyway and the windshield weather stripping was way over-due for replacement. The fenders were simple enough to remove with the hood off, removing the windshield made me a little nervous since I needed to re-use it and was in fear of breaking it.
After removing the chrome molding, the easiest way to remove the windshield was to use a razor knife to cut the rubber weather stripping away. With the weather stripping removed, it was just a matter of pushing the windshield carefully from the inside the car with my feet until it loosened, then it came out nicely.
Then the drilling began, not being a professional body man, drilling the spot welds was much more time consuming than I would have ever imagined. First I used a wire wheel to remove the paint around all the edges so the dimples of each spot weld were revealed. I used drill bits and a spot weld cutter to drill them out, all the while realizing that every weld I was drilling out would later need to welded back after the repairs were made.
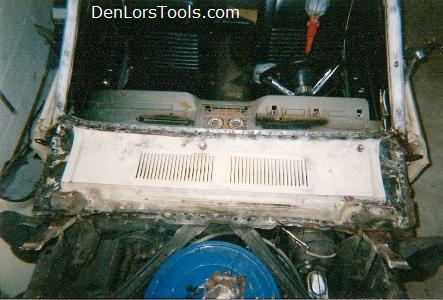
The picture above shows the cowl with the outer shell of the capsule removed, on each side notice the "top hat" outside air entry ducts. They were placed back in position for this picture.
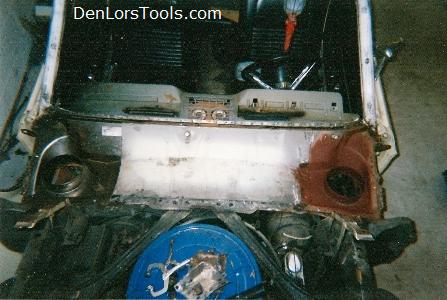
In this picture you can see the replacement pieces in position. The next step was to weld them in place with a mig welder and apply seam sealer to insure there were no more leaks. The top piece of the cowl was then put back in place and held in position with vise grips for welding. Each of the spot welds that were previously drilled out were welded back. The welds around the windshield opening, where the windshield seal goes, had to be ground down to a fairly smooth finish to allow the seal to go into place correctly. The price of the welder was only a fraction of what I would have paid a body shop to do this repair. Over-all this was a good experience and although my welds may not look like a roll of nickels, they do hold.


